
Pizza making tips
make better pizza at home


Never make a bad pizza again!
We’ve all had that moment when we thought we did everything right but then the dough didn’t stretch. Maybe you once had a pizza stone but it broke and you haven’t gone back. If your pizza came out of the oven a big soggy mess, you are not alone. We are here for you.
Use the videos and recipes below to help you on your quest for excellent homemade pizza. These are all tested methods we teach in our online classes. Once you understand the concepts, you’ll be experimenting with your own variations. Just make sure to tag @scottspizzatours when posting your creations!
For the best home pizza making equipment, visit our sister site Pizza Resource Center. For in-person pizza making classes in NYC, please visit our friends at Pizza School NYC.
Videos
Pizza Dough Recipe
This video will guide you through the dough making process. This is the dough recipe we teach in online classes and it works perfectly with our pizza dough making kits!
How to Stretch
You’ve spent all this time crafting and fermenting the perfect dough, now you’ll need help transforming it into a pizza “skin.” Watch carefully!
Baking the Pizza
You’re almost there! Your pizza dough is stretched and now all you have to do is get it topped and into the oven for a successful transformation.
Par-Bake Method
This video demonstrates the 2-step “par-bake” method for baking your pizza in a standard home oven without a pizza stone.
Recipes
PIZZA DOUGH (makes four 12" pizzas)
WATER: 460g or 2 cups
SALT: 18g or 3 tsp
FLOUR: 700g or 5 cups (All Purpose is fine, Bread Flour is better)
YEAST: 2g instant / 1.5g active or 0.5 tsp
OIL: 10g or 2 tsp
2. Add salt to the water. Stir to combine.
3. Incorporate flour into your water slowly, adding yeast about halfway through.
4. Allow the mix to sit, covered for 15-30 minutes.
5. Add half of your oil to the dough and spread it across the surface with your hand.
6. Incorporate oil into the dough by kneading until it no longer feels slick. Add the other half of your oil and repeat the kneading process.
7. Give your dough a 5 minute rest, covered.
8. Knead on a lightly floured surface until smooth and bouncy, about 3-5 minutes.
8. Let the dough rest, covered and at room temperature, for a couple minutes while you lightly coat your dough storage containers with oil.
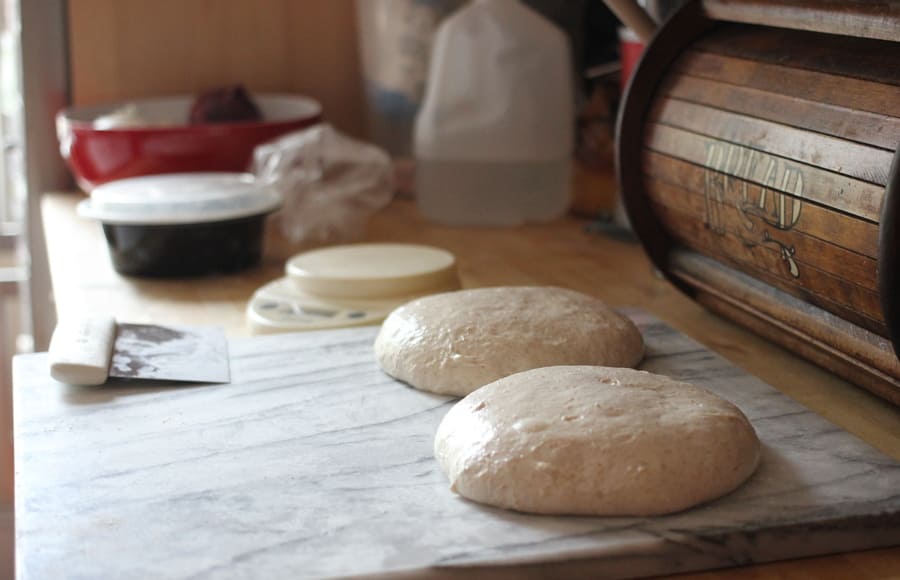
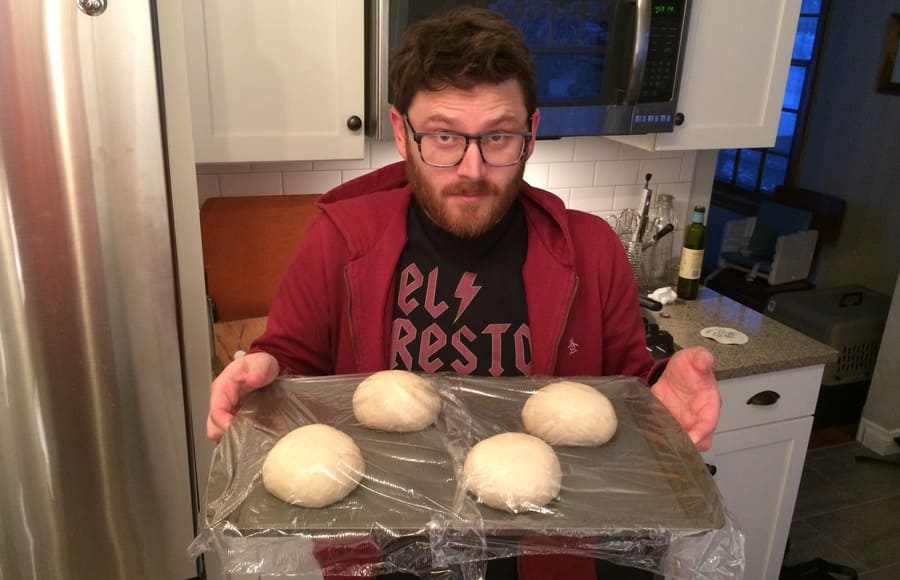
*9. Divide the dough into 4 equal pieces and fold each into a tight, seamless ball (watch the video above for help with this).
10. Store dough balls in lightly oiled containers inside a refrigerator for 1-4 days.
11. Let dough warm up for 2-3 hours before use.
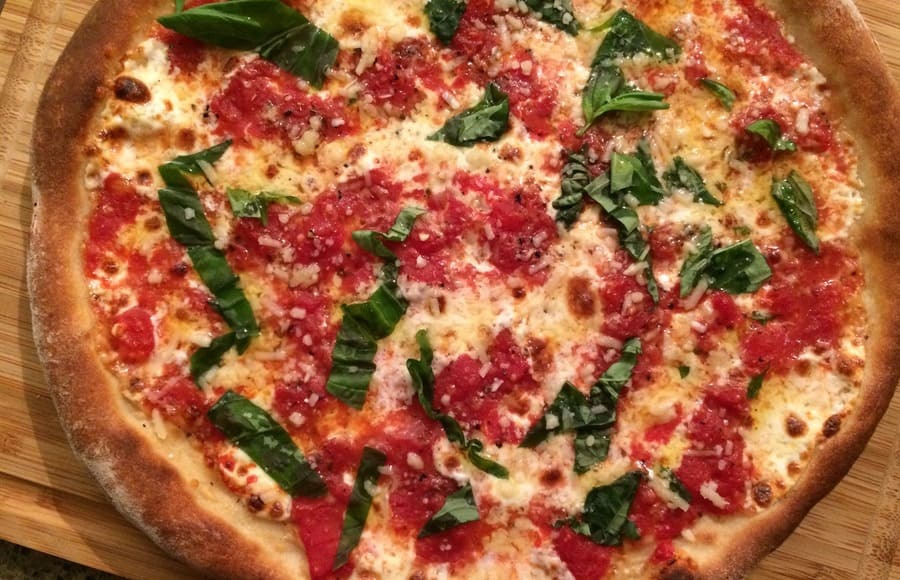
NEAPOLITAN SAUCE
TOMATOES: 1x 28 oz can whole peeled tomatoes
SALT: 6g (one big pinch)
2. Add salt to tomatoes.
3. Crush the whole tomatoes by submerging them in the tomato liquid from the can until the texture is fine and consistent.
4. No need to cook, they’ll cook on the pizza! Season with oregano, garlic, etc as needed directly on each pizza.
GLUTEN FREE DOUGH (makes four 10" pizzas)
WATER: 400g or 1.75 cups
SALT: 18g or 3 tsp
FLOUR: 500g or 3.5 cups (we recommend Caputo Fioreglut)
YEAST: 2g instant / 1.5g active or 0.5 tsp
OIL: 20g or 4 tsp
1. Start with 1 ¾ cups (400g) of cold water in a large mixing bowl
2. Add 3 tsp salt (18g) into the water and dissolve
3. Add 3 ½ cups (500g) of gluten free flour into the salty water
4. Add the yeast on top of the gluten free flour
5. Mix the gluten free flour and yeast into the salty water until no dry flour remains
6. Cover the mixture and allow to rest for 15-30 minutes
7. Mix 4 tsp (20g) of extra virgin olive oil into the dough until it has been completely incorporated.
8. Coat your dough storage containers with a small amount of olive oil
9. Divide dough into 4 equal pieces and form each into a creaseless ball as if you were making snowballs. The dough will be very sticky so you can use a piece of plastic wrap to help.
10. Place each dough ball into its own storage container
11. Leave dough out on the counter to use 3-5 hours later, or in the refrigerator overnight for use within 1-3 days
Pizza class method
PIZZA IN A BAKING SHEET (aka the "par-bake" method)
**View the Par-Bake video above to see this method in action!**
1. Preheat your oven to 500°F
5. Continue to push down on your dough until the gas has all been relocated to the edge of your pizza, forming a lightly inflated lip. At this point, the dough ball should be about 6-8 inches in diameter.
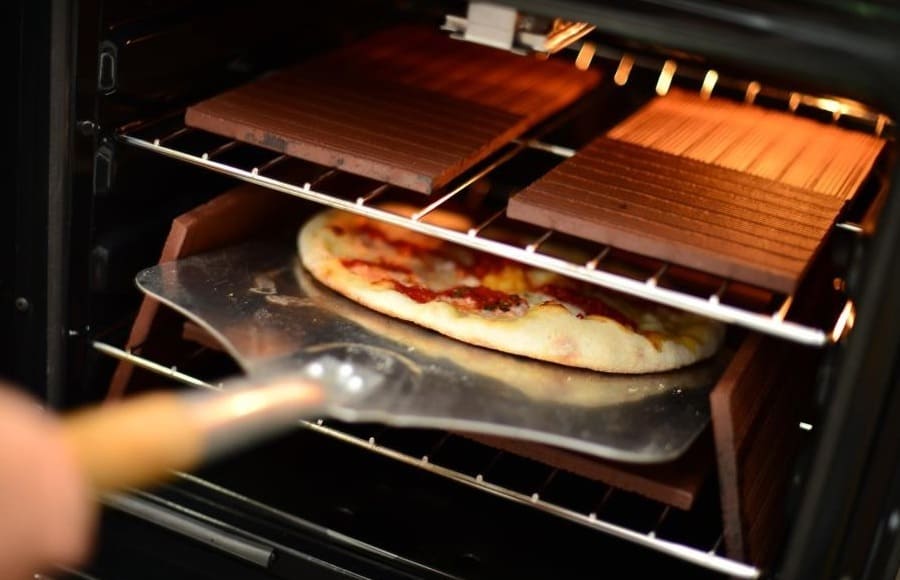
PIZZA STONE METHOD
1. Preheat your oven, with the pizza stone on the center rack, to highest temp your oven can handle (usually 500 or 550° F) for at least 45 minutes before you intend to bake your first pizza.
2. When the pizza stone has sufficiently preheated, follow steps 2-6 from the above “Par-Bake” method.
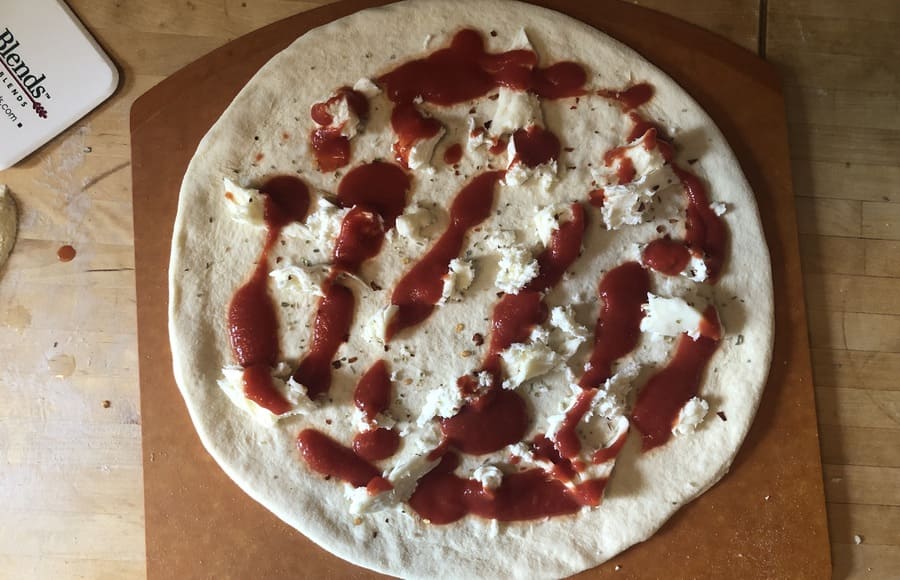
3. When the dough has reached the desired diameter (usually around 12″), lay it gently onto a lightly floured pizza peel. If you have parchment paper, you can use a sheet of that instead of flour.
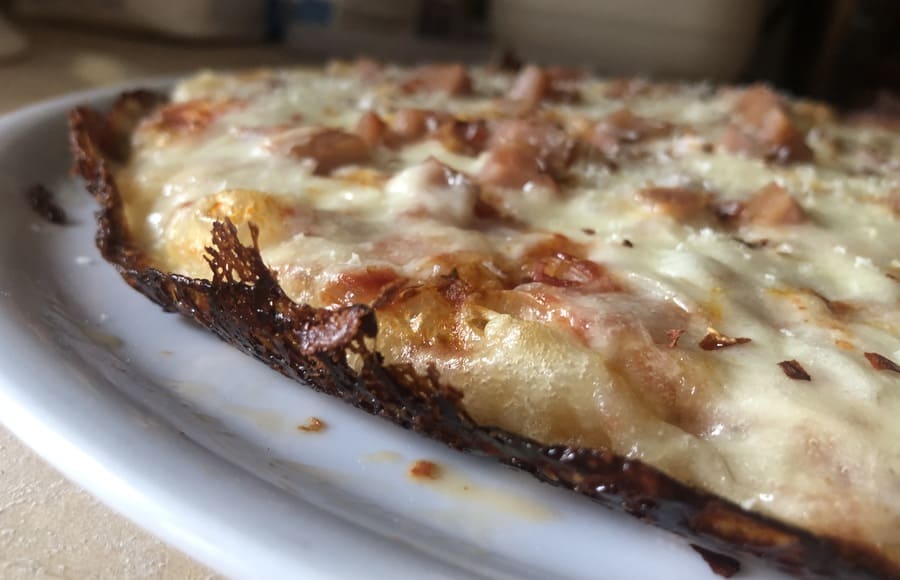
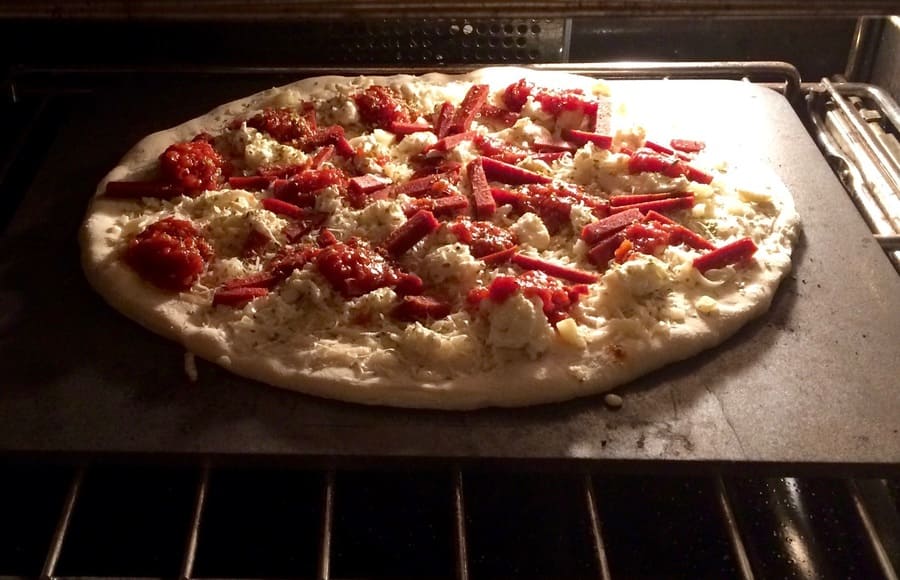
4. Top your pizza swiftly and with grace in whatever order you prefer. Cheese > toppings > sauce will give you excellent results because the cheese will protect the dough from soggification.
5. Bake your pizza on the pizza stone for 6-8 minutes or until your crust looks amazing. If you’re using a sheet of parchment paper, you can remove that from the oven about 3-4 minutes into the bake.
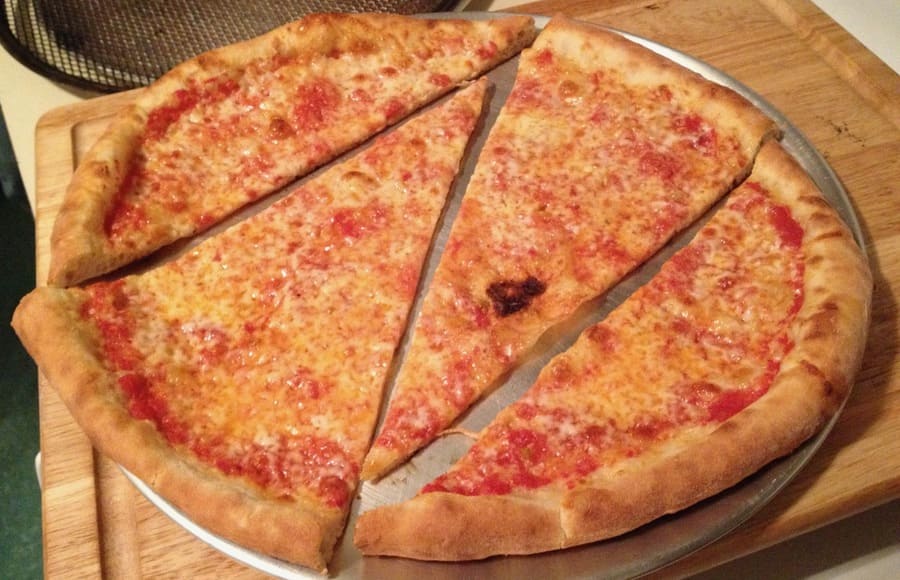
6. PRO TIPS: If you want to get some nice char, hit the top of your pizza with the broiler for 30-60 seconds toward the end of the bake. If you like your pizza extra crispy, transfer it directly onto an open rack on your oven for its final minute.
7. Let your pizza cool on a wire rack for 1 minute before slicing so the cheese will settle down.
Tips & Tricks
FREEZING YOUR DOUGH
1. Once you’ve made your dough, let it rise either covered and on the counter for a couple hours or overnight in the refrigerator.
2. Transfer your dough in its container to the freezer. Once frozen, remove from container and wrap in plastic wrap.
3. When you want to use the dough (within 3 months), let the balls sit in your refrigerator at least 24 hours to thaw.
BAKING BREAD WITH LEFTOVER DOUGH
1. Let dough ball sit on a sheet of parchment paper, covered with an overturned bowl that’s three times the size of the dough.
2. When the dough has almost doubled in size (a couple hours in warm temperature, longer in cold), preheat your oven to 450 F (bonus points if you preheat with a pizza stone for > 45 minutes.
3. Put a pan of water onto the lower rack of the oven to create steam that will give you a crunchy crust.
4. Dust the dough ball with a small amount of flour. Using a sharp knife or razor blade, score the top of the dough ball.
5. Slide the scored dough, parchment and all, onto a baking sheet (or use a peel to slide it onto a pizza stone).
6. If you didn’t put a pan of water into the oven for step 3, you can spray the inside of the oven with water now for a similar effect.
7. Bake for 30-35 minutes, or until the exterior of the bread browns to your liking.
8. Let the bread cool on a wire rack for at least an hour. DO NOT cut into the loaf right away or it will be gummy.
Pizza Tours
Walking Pizza Tours
Sunday Pizza Bus Tour
Private Pizza Tours
Virtual Pizza Classes
You've Got Pizza
Sign up for hot slices of pizza news and special offers! Don’t worry, we won’t clog your inbox or your arteries. We also won't give your name or email address to anyone. Privacy is delicious!