
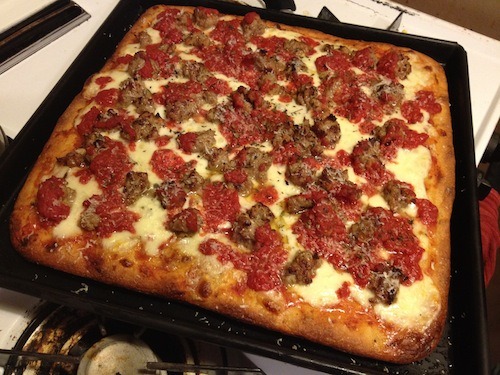
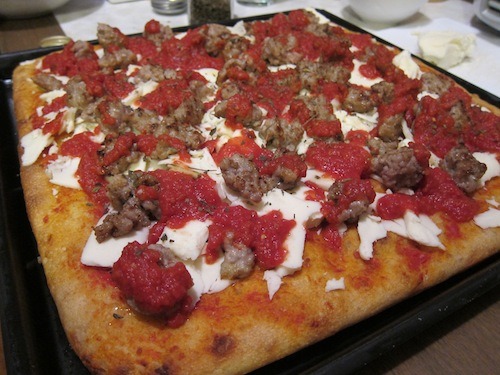
There she is, a Sicilian pie so good I emailed a picture of it to my dad.
Winter is the perfect time for thick crusts and gooey cheese, so I decided to make it a February project to learn how to make the perfect Sicilian pizza. After purchasing a coated black pan from Bari Equipment, my favorite restaurant supply store on the Bowery, I set out to craft a square pie that wouldn’t be the all-too-common heavy rock in the stomachs of all wide-eyed eaters. Here’s a rundown of my journey thus far.
I made a batch of dough using little bits of leftover flour from several different sources. This probably wasn’t the best idea, but I couldn’t bare to see lonely little bags of flour just sitting there in my flour bin. So I mixed 50g whole wheat with 350g bread flour and 196g all purpose. I did a 66% hydration with 110g Ischia starter. That means there was 650g total flour, 55 of which came from a starter. If you don’t have a starter, just use 650g flour and you’ll be set (but you’ll have to use more yeast). The 66% hydration means I used a water with a weight of 66% the 650g flour weight. That’s 429g, but 55g of water were already in the starter so I only had to add 374g water to the mix. Confused? Just remember that most starters are 50/50 water to flour, so a 200g portion of starter is 100g water and 100g flour. To boost the air content, I added 1g active dry yeast. After mixing by hand and a 30 rest period, I kneaded in about 15g salt. After another 30 minute rest, I loaded the finished dough into a lightly-oiled container and let her sit in the fridge for a couple days.
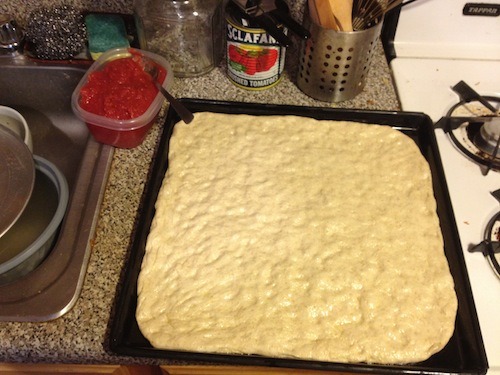
My oiled dough prepping for its final rise on baking day.
I ended up baking my pizza about two days after making the dough. Unlike with Neapolitan pizza, square pies require a long rise after stretching and before baking. Getting the dough into the square pan requires a series of short rises inter-cut by delicate stretching. It took about three hours to get the dough from a ball to this square shape. I’m actually going to try a longer rise and a single stretch next time because this pie came out a bit too dense for me. I should note that this dough is lightly covered with oil, so it won’t dry out during the rise.
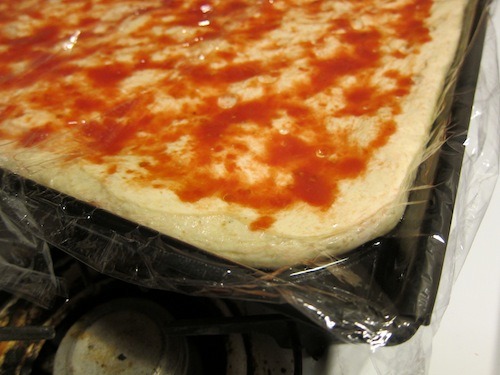
Topped with watered-down tomato before the final rise.
After the dough has achieved full coverage of the pan, it’s time for the final rise. I picked up a great tip to keep the dough moist from Joe’s Pizza on Carmine Street in Greenwich Village. They suggested covering the dough’s surface with a mixture of crushed tomato and water before allowing the dough to have a final 1-2 hour rise. This way, you won’t de-gas the dough by adding tomato to the fluffy, gassy blob. As you can see from the photo, I covered the topped dough with plastic to keep out unwanted debris.
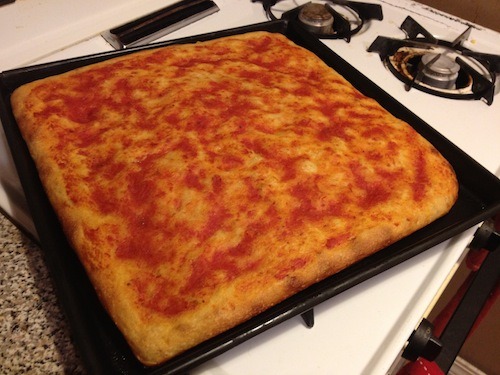
Pre-baked dough, but looks like a solid focaccia to me!
When the dough had risen sufficiently (ie I was too excited to wait any longer) it was time to bake in a preheated 475 F oven. This is just a pre-bake, so the toppings will come later. This step took about 12 minutes to achieve browning on the crust. I learned from Metro Pizza’s John Arena that it’s best to let the pre-baked crust cool completely before topping and re-baking. He likened it to the physical difference between bread and toast. It definitely kept the crust crunchy!
After cooling down, we topped the crust and prepared for the final bake.
The next step was really fun because a couple of my friends had arrived so we applied toppings as a group committee. This pie had whole milk low moisture mozzarella, salted tomato (slightly pre-cooked Sclafani crushed tomatoes), browned sweet Italian sausage (I cut off the casings on Premio sausage links and mixed in 3 cloves of garlic and some black pepper) and dried oregano. Remember, there’s already some tomato on the crust’s surface, so we started the topping procedure with cheese, followed by sausage and finally finished the party with crushed tomato. This worked great because the cheese was protected by moisture from the tomatoes so it didn’t burn.
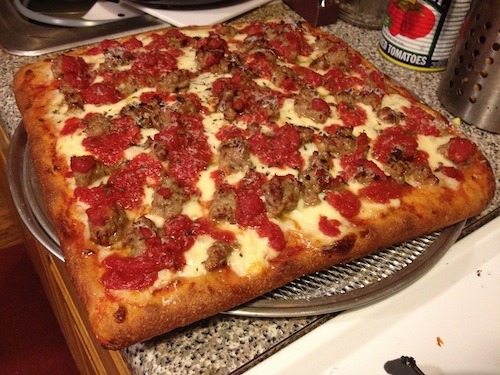
Baked and cooling off on a mesh baking screen.
After a final 10 minutes in the oven, we had ourselves a beautifully baked Sicilian pizza. The guys at Prince Street Pizza gave me a great tip for keeping the crunch in your crust by letting square pies cool for 10 minutes on a baking screen. The flavor was great and the texture was almost perfect.
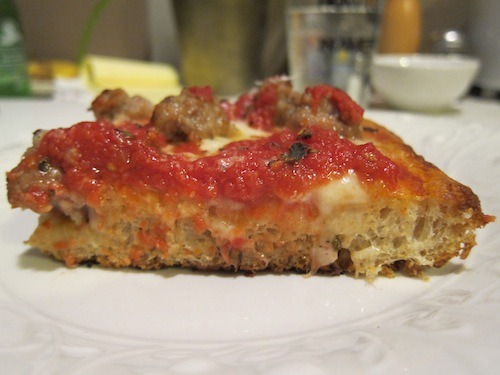
Cross-section of the final product.
As you can see from this photo, there isn’t much air in the crust. I’m hoping to change that by using only All Purpose or Bread flour (no Whole Wheat, it kills the gluten web). But it had a great crunch and tasted better than 95% of the Sicilian pizza I’ve had at pizzerias.
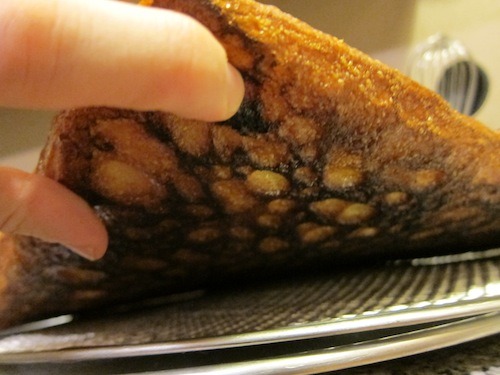
This underside is a bit too dark for me, but it tasted great.
This pie wasn’t perfect, but it was so much better than my first attempt three weeks ago. I’m convinced the next round will be even closer to my goal of crunchy-bottomed, fluffy-interior, perfectly-topped Sicilian brilliance. Stay tuned for more!